Heroku
Heroku is a cloud platform with full CI/CD support. There you can easily create, deploy, monitor and scall your app. And the most excited thing that it has free option to host your app.
Prerequisites
- Create blazor app hosted on asp.net core
- Create repo on github
- Push your project to github
- Register on heroku
Creating app on heroku
- In first step, we have to create app in heroku
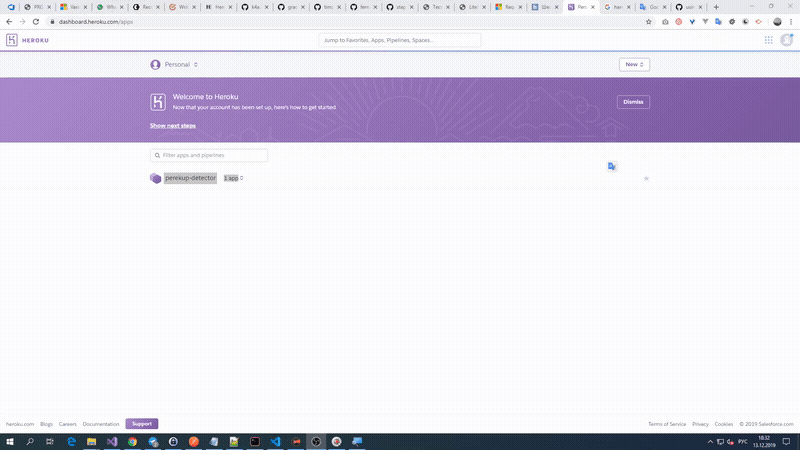
- Go to your heroku dashboard
- Click
New->Create new app - Name and click
Create - Connect your app to github repo for enabling deploy
- Also you can enable automatic deploy
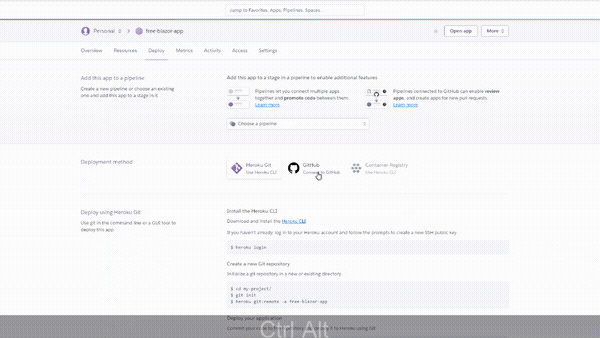
After these steps you have ability to deploy project manualy, however it will not work yet.
Adding buildpack
Unfoturnately, heroku by default does not support .net apps. So we have to add third party buildpacks for enabling .net apps suport. Don’t worry, it is pretty easy.
- You can find Heroku .Net Core Buildpack here
- Go to your app on heroku setting tab
- In buildpacks section click
add buildpack - Copy buildpack github url from github page
- Enter coppied url to input and click
Save changes
Now heroku knows how to build your app. However, we still are not ready to deploy our app.
Project file
If we would try to deploy our app we got some errors while building. Because buildpack automatically detect project for publishing by looking first Startup.cs file in solution. If we created blazor app hosted on asp.net core , we will have 2 web projects in solution and we must specify PROJECT_FILE in environment variables.
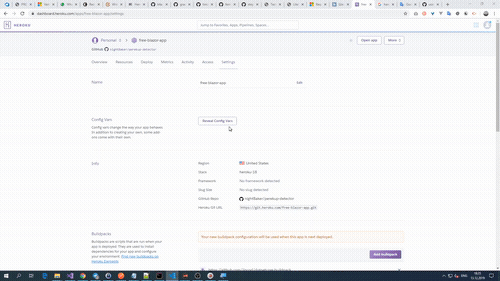
- Go to
settingspage - In Config Vars section click
Reveal Config Vars - Add Key
PROJECT_FILEwith value of relative path to your servercsprojfile. In my situation, it isPerekupDetector/PerekupDetector.Web/Server/PerekupDetector.Web.Server.csproj - Now you can manually deploy your project in Deploy tab
Conclusion
Heroku gives ability to host your .net core app for free with limited resources. However, it is enough to start up.
