ASP.net CORE from empty to MVC
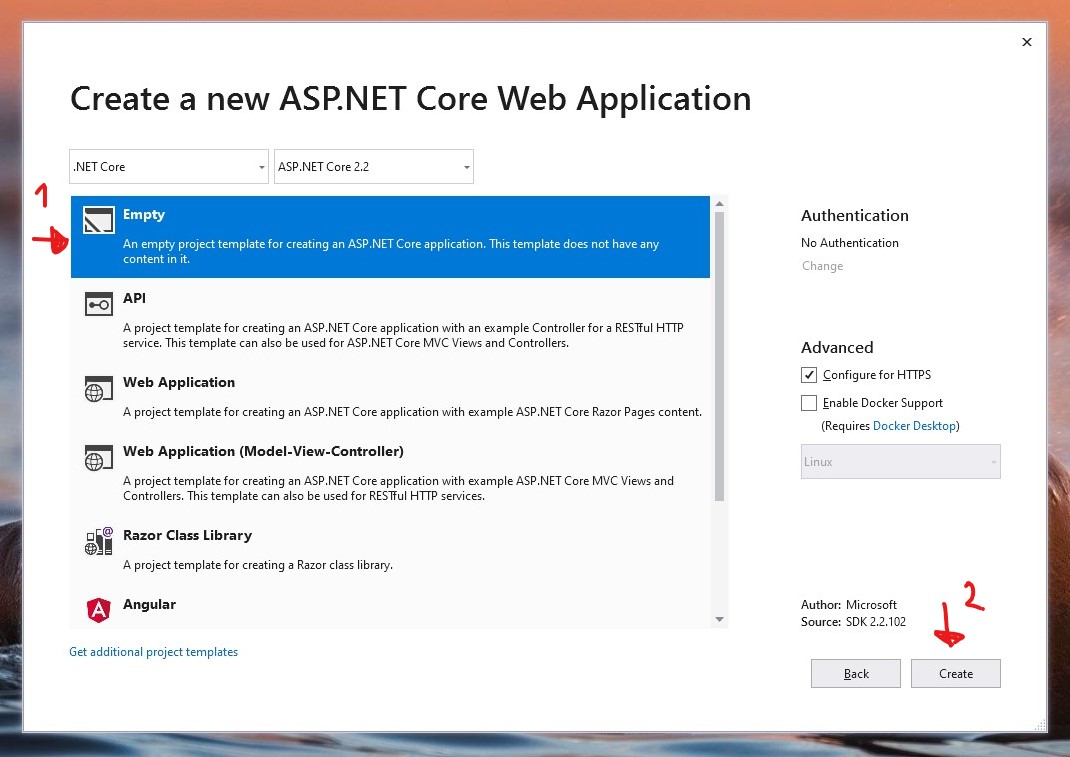
Let’s consider how add MVC support to empty asp.net core project. If you create empty project in visual studio.
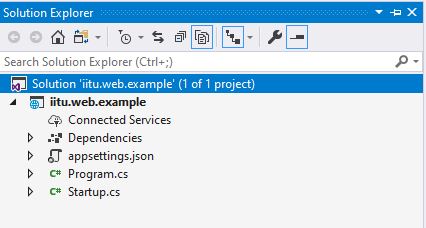
You can see only 2 files in solution explorer : Program.cs and Startup.cs.
With following content:
public class Program
{
    public static void Main(string[] args)
    {
        CreateWebHostBuilder(args).Build().Run();
    }

    public static IWebHostBuilder CreateWebHostBuilder(string[] args) =>
        WebHost.CreateDefaultBuilder(args)
            .UseStartup<Startup>();
}
public class Startup
{
    // This method gets called by the runtime. Use this method to add services to the container.
    // For more information on how to configure your application, visit https://go.microsoft.com/fwlink/?LinkID=398940
    public void ConfigureServices(IServiceCollection services)
    {
    }

    // This method gets called by the runtime. Use this method to configure the HTTP request pipeline.
    public void Configure(IApplicationBuilder app, IHostingEnvironment env)
    {
        if (env.IsDevelopment())
        {
            app.UseDeveloperExceptionPage();
        }

        app.Run(async (context) =>
        {
            await context.Response.WriteAsync("Hello World!");
        });
    }
}
If you run application you will get.
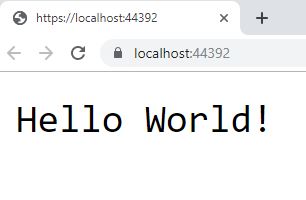
It returns Hello World because in our Startup.cs we say
app.Run(async (context) =>
{
    await context.Response.WriteAsync("Hello World!");
});
MVC support
So any request returns Hello World. Now we want change default behaviour and use MVC pattern for our app.
First, we have to add next line services.AddMvc(); to ConfigureServices method in Startup.cs, so it will look like
public void ConfigureServices(IServiceCollection services)
{
    services.AddMvc();
}
and Configure method will look like
public void Configure(IApplicationBuilder app, IHostingEnvironment env)
{
    if (env.IsDevelopment())
    {
        app.UseDeveloperExceptionPage();
    }

    app.UseMvc(routes =>
    {
        routes.MapRoute(
            name: "default",
            template: "{controller=Home}/{action=Index}/{id?}");
    });

    // app.UseMvcWithDefaultRoute(); the same as previous line
}
Next, we have to create Controllers folder in the root of project and add new empty controller. Let’s name it HelloController. Right click on Controllers folder -> Add -> Controller. Select MVC controller empty.

VS creates controller with following content
public class HelloController : Controller
{
    public IActionResult Index()
    {
        return View();
    }
}
Let’s change it to check if controller works ok.
public class HelloController : Controller
{
    public string Index()
    {
        return "Hello from controller";
    }
}
If you run app and goto /hello you will get next result
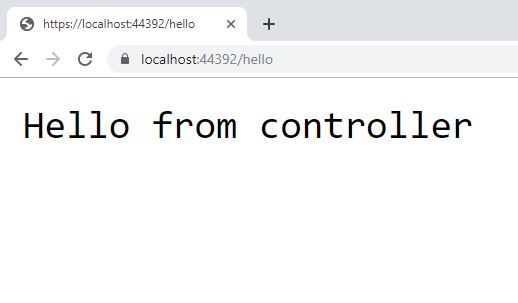
As you noticed, we don’t get any response for add default address.
The reason is in Startup.cs we have routes configuration
routes.MapRoute(
    name: "default",
    template: "{controller=Home}/{action=Index}/{id?}");
As you can see the default controller is Home, so let’s change it to Hello.
routes.MapRoute(
    name: "default",
    template: "{controller=Hello}/{action=Index}/{id?}");
Let’s run app again and see that now we get our Hello from cotroller message for default address.
Views
Let’s change back HelloController to default content
public class HelloController : Controller
{
    public IActionResult Index()
    {
        return View();
    }
}
Index method now returns view, however we do not have any views in our project. So let’s add some.
Firstly, create folder Views and Hello folder in previously created folder. Secondly, add View -> right click on Hello folder -> add -> View
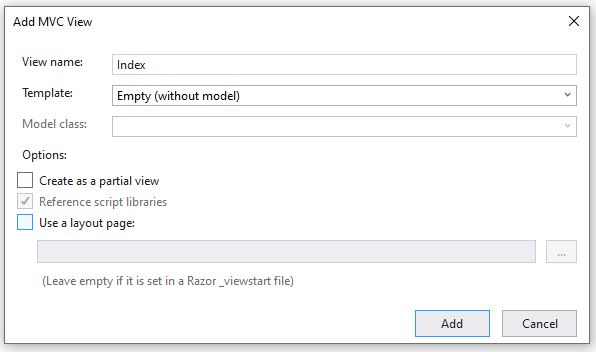
Now, let’s change content of our view.
@{
Layout = null;
}
<!DOCTYPE html>
<html>
<head>
<meta name="viewport" content="width=device-width" />
<title>Hello from view</title>
</head>
<body>
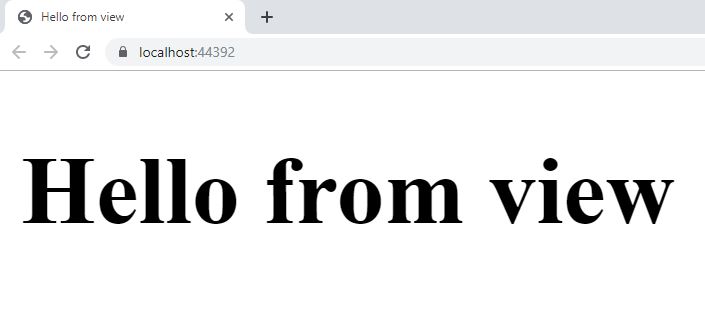
<h1>Hello from view</h1>
</body>
</html>
Run app!
Static files
Now, let’s add some style to our page. By default, asp.net core does not allow serving such files as html, css, js and images. Some configuration is required. First, we have to enable static files in Configure method.
public void Configure(IApplicationBuilder app, IHostingEnvironment env)
{
    if (env.IsDevelopment())
    {
        app.UseDeveloperExceptionPage();
    }

    app.UseMvc(routes =>
    {
        routes.MapRoute(
            name: "default",
            template: "{controller=Hello}/{action=Index}/{id?}");
    });

    app.UseStaticFiles();
}
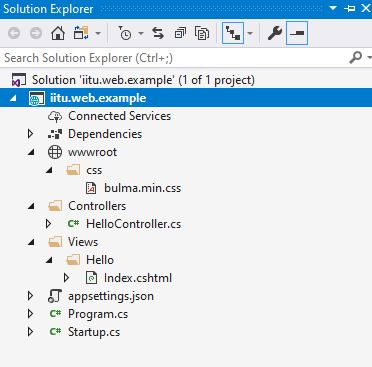
By default, app will serve static files from wwwroot folder. Thus, let’s create folder in our project.
My favorite css framework is Bulma. You can download and put bulma.min.css into wwwroot/css/ .
Now, your project structure should be similar with folllowing
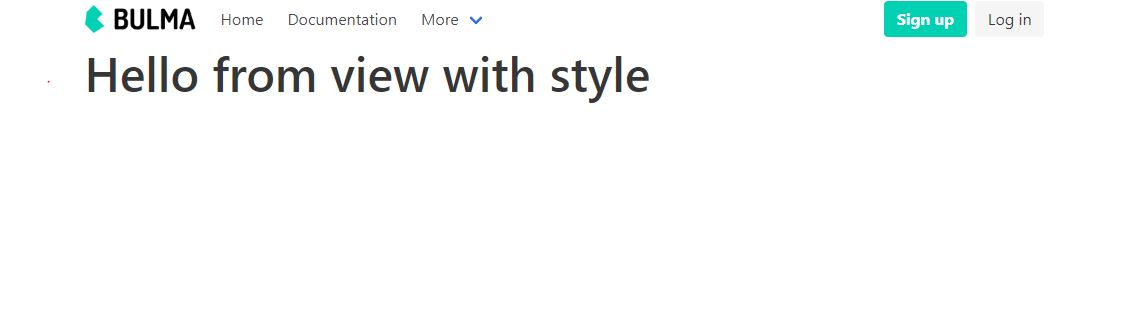
Finally, we should add link to stylesheet in our view. And let’s add navbar from bulma documentation
@{
    Layout = null;
}

<!DOCTYPE html>

<html>
<head>
    <meta name="viewport" content="width=device-width" />
    <title>Hello from view</title>
    <link rel="stylesheet" href="~/css/bulma.min.css" >
</head>
<body>
    <div class="container">
        <nav class="navbar" role="navigation" aria-label="main navigation">
            <div class="navbar-brand">
                <a class="navbar-item" href="https://bulma.io">
                    <img src="https://bulma.io/images/bulma-logo.png" width="112" height="28">
                </a>

                <a role="button" class="navbar-burger burger" aria-label="menu" aria-expanded="false" data-target="navbarBasicExample">
                    <span aria-hidden="true"></span>
                    <span aria-hidden="true"></span>
                    <span aria-hidden="true"></span>
                </a>
            </div>

            <div id="navbarBasicExample" class="navbar-menu">
                <div class="navbar-start">
                    <a class="navbar-item">
                        Home
                    </a>

                    <a class="navbar-item">
                        Documentation
                    </a>

                    <div class="navbar-item has-dropdown is-hoverable">
                        <a class="navbar-link">
                            More
                        </a>

                        <div class="navbar-dropdown">
                            <a class="navbar-item">
                                About
                            </a>
                            <a class="navbar-item">
                                Jobs
                            </a>
                            <a class="navbar-item">
                                Contact
                            </a>
                            <hr class="navbar-divider">
                            <a class="navbar-item">
                                Report an issue
                            </a>
                        </div>
                    </div>
                </div>

                <div class="navbar-end">
                    <div class="navbar-item">
                        <div class="buttons">
                            <a class="button is-primary">
                                <strong>Sign up</strong>
                            </a>
                            <a class="button is-light">
                                Log in
                            </a>
                        </div>
                    </div>
                </div>
            </div>
        </nav>
        <h1 class="title is-1">Hello from view with style</h1>
    </div>
</body>
</html>
Run app!
Layout
Obviously, there is one problem, if we want to add new view we must copy our nav bar to newly view. Thus, we may want to share navbar between all views. Fortunately, we can use layout. Let’s create new folder Shared in Views and add new view with name _Layout and move navbar to it.
<!DOCTYPE html>

<html>
<head>
    <meta name="viewport" content="width=device-width" />
    <title>Hello from view</title>
    <link rel="stylesheet" href="~/css/bulma.min.css">
</head>
<body>
    <div class="container">
        <nav class="navbar" role="navigation" aria-label="main navigation">
            <div class="navbar-brand">
                <a class="navbar-item" href="https://bulma.io">
                    <img src="https://bulma.io/images/bulma-logo.png" width="112" height="28">
                </a>

                <a role="button" class="navbar-burger burger" aria-label="menu" aria-expanded="false" data-target="navbarBasicExample">
                    <span aria-hidden="true"></span>
                    <span aria-hidden="true"></span>
                    <span aria-hidden="true"></span>
                </a>
            </div>

            <div id="navbarBasicExample" class="navbar-menu">
                <div class="navbar-start">
                    <a class="navbar-item">
                        Home
                    </a>

                    <a class="navbar-item">
                        Documentation
                    </a>

                    <div class="navbar-item has-dropdown is-hoverable">
                        <a class="navbar-link">
                            More
                        </a>

                        <div class="navbar-dropdown">
                            <a class="navbar-item">
                                About
                            </a>
                            <a class="navbar-item">
                                Jobs
                            </a>
                            <a class="navbar-item">
                                Contact
                            </a>
                            <hr class="navbar-divider">
                            <a class="navbar-item">
                                Report an issue
                            </a>
                        </div>
                    </div>
                </div>

                <div class="navbar-end">
                    <div class="navbar-item">
                        <div class="buttons">
                            <a class="button is-primary">
                                <strong>Sign up</strong>
                            </a>
                            <a class="button is-light">
                                Log in
                            </a>
                        </div>
                    </div>
                </div>
            </div>
        </nav>
    </div>

    <div class="container">
        @RenderBody()
    </div>
</body>
</html>
So, our view can contain only logical content relating to special view
@{
    Layout =  "~/Views/Shared/_Layout.cshtml"; ;
}

<h1 class="title is-1">Hello from view with style</h1>
Moreover, we can move setting Layout field to another system view _ViewStarts which will be executed before any view and set up layout by default.
Create view in Views folder and name it _ViewStart . Move code from Index view, so _ViewStart wiil be
@{
    Layout =  "~/Views/Shared/_Layout.cshtml"; ;
}
and Index.cshtml just
<h1 class="title is-1">Hello from view with style</h1>
Run your app, check if it works. Finally, you should have the following structure.

Source code
You can download source code from github
